You can create a beautiful and durable slatted pine garden bed that looks like it was built by a professional without needing expensive machinery. This project demonstrates how simple hidden joinery techniques allow for clean lines while keeping the assembly process accessible to woodworking beginners.
By following these planter box construction steps, you will learn to build a raised bed using only basic hand tools and clamps.
In this article:
- Choosing Pine Wood For Outdoor Planters
- Cutting Slats To Exact Dimensions And Lengths
- Creating Hidden Dovetail Joints Without Special Tools
- Assembling The Frame With Clamps And Glue Only
- Sealing Pine For Weather Resistance And Finish
- Final Thoughts
Choosing Pine Wood For Outdoor Planters
Pine is a popular choice for raised beds because it is soft, easy to work with, and generally affordable compared to hardwoods like cedar or redwood. However, standard construction-grade pine can rot quickly when exposed to constant moisture from soil and rain. To ensure longevity in this outdoor furniture application, select clear southern yellow pine graded for exterior use or specifically labeled as "decking" lumber.
Pressure Treated vs. Natural Pine
The most durable option is pressure-treated pine, which has been infused with chemicals to resist rot and insect damage. This material is widely available at big-box hardware stores and provides the best value for beginners on a budget. You must buy the "ground contact" or heavy-duty grade if you plan to bury the bottom of the box in the soil.
If you prefer natural pine without chemicals, look for clear heartwood rather than sapwood. Heartwood contains more natural extractives that offer some resistance to decay, while sapwood rots easily. Ensure the boards are kiln-dried and have a moisture content below 19 percent before you begin cutting.
Board Thickness And Stability
Use at least 5/8 inch (16 mm) or 3/4 inch (19 mm) thick lumber to prevent warping as the wood acclimates. Thinner boards will bow under their own weight and may crack when you tighten the hidden joinery screws. Avoid rough-sawn lumber from a sawmill unless it has been milled flat, as uneven surfaces make gluing difficult.
Preparation Before Assembly
Before cutting your pine into slats for this planter box construction, let the wood acclimate to your shop environment for at least two weeks. This step prevents shrinkage or swelling after installation that could crack your hidden joinery techniques. Store the lumber off the concrete floor on a rack to keep it dry and prevent mold growth.
Inspect every piece for knots, splits, or warping before you start. Large knots in pine can create weak points where rot starts later. If you find significant defects, set that board aside for non-structural parts like end caps rather than using it for the main frame.
Finishing Considerations
Even with pressure-treated lumber, applying a protective finish is essential because pine absorbs water rapidly. A high-quality exterior stain or marine-grade varnish will significantly extend the life of your garden bed. This preparation step protects against UV degradation and moisture penetration in the joints.
Cutting Slats To Exact Dimensions And Lengths
Accurate measurements are critical when cutting the vertical slats that form the side walls of your planter box, as even small errors can cause gaps or prevent proper assembly. Lay out all boards on a flat surface and measure twice before making any cuts to ensure every piece matches your design specifications exactly.
Measuring And Marking The Boards
Use a high-quality combination square or a long straightedge to transfer your calculated lengths onto the pine lumber, ensuring lines are perfectly perpendicular to the board edge. Mark both ends of each board with a pencil for clarity, then verify these marks by measuring between them one final time before cutting.
Cutting With A Circular Saw
If you do not have access to a table saw, a circular saw is an excellent alternative for beginners who need to cut boards to exact lengths for their slatted pine garden bed. Place the board on a stable scrap piece of wood underneath it to prevent kickback and ensure a straight cut line through the material.
Set your blade depth so it cuts only about 3/8 inch (9 mm) into the wood, which provides enough power while minimizing splintering on the bottom edge. Wear safety glasses and hearing protection during this process, as pine dust can be irritating to eyes and lungs even when cutting softwood.
Cutting With A Table Saw
For faster results and cleaner edges, a table saw allows you to cut multiple slats in one pass using a dado blade or by making several parallel passes. Always use a push stick for small workpieces and never reach over the spinning blade to adjust the wood mid-cut.
Sanding Rough Edges
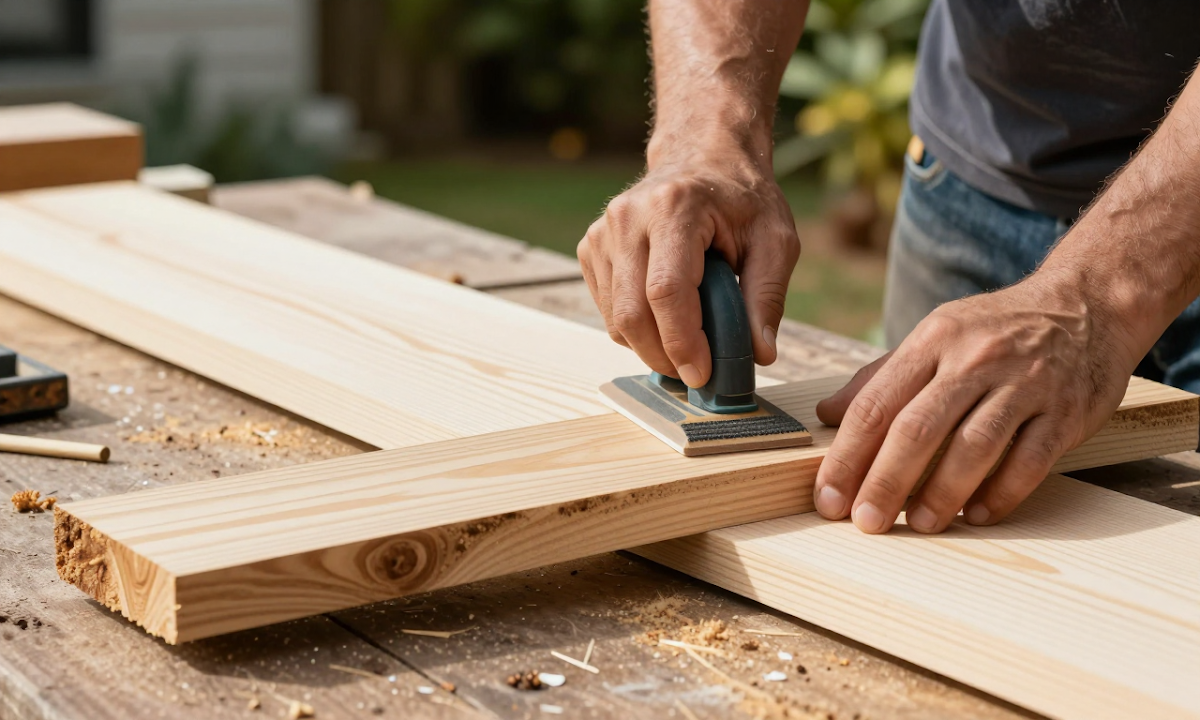
Pine is prone to splintering, especially on the underside of cut boards where the grain runs in different directions than the face. Lightly sand all cut edges with 120-grit sandpaper before assembly to remove rough spots and ensure smooth contact between joints.
Checking Fit Before Assembly
Dry fit the vertical slats into your frame corners without glue or clamps to verify that lengths are consistent and gaps are uniform. If you notice a board is slightly too long, mark it for trimming rather than forcing it in, which can compromise the structural integrity of the hidden joinery.
Creating Hidden Dovetail Joints Without Special Tools
Creating interlocking joints by hand allows you to achieve a professional look without expensive jigs. This method relies on patience and precise measurements rather than complex machinery.
Marking the Layout
- Scribe Lines - Use a marking gauge or ruler to draw lines where the tails and pins will sit, ensuring all parts match before cutting begins.
- Pilot Holes - Drill small holes at the corners of your joint layout to keep saw blades from wandering during the initial cuts.
Start by laying out your slats on a stable surface. Measure and mark the length of each tail so they fit perfectly into the pin sockets. Double-check that all lines align before you make any incisions, as accuracy here prevents gaps in the final assembly.
Cutting Tails and Pins
- Saw Selection - A Japanese pull saw or a sharp backsaw works best for clean cuts through pine wood, leaving smooth edges that fit together tightly.
- Scoring Technique - Saw partway through the line to score it, then flip the piece over and cut from the other side to meet in the middle without breaking the grain.
Cut the tails first by marking them on the wider slats. Flip the board and saw along the same lines from the opposite face to ensure a straight edge that won't split. Once the tails are shaped, mark the corresponding pins on the narrower pieces. Cut these pins using the same scoring technique to create clean interlocking edges.
Assembling Without Glue
- Dry Fit Check - Assemble the joints by hand to test the fit before applying any finish or adhesive, allowing for adjustments if necessary.
- Chisel Cleanup - Use a sharp chisel to remove small splinters or rough spots that prevent a tight lock between the slats.
After cutting both tails and pins, dry-fit the joints by pressing them together. You may need to pare down the edges slightly with a chisel if they are too tight. Once satisfied with the fit, assemble your slatted pine garden bed frame using only clamps to hold the pieces under tension while you apply weather-resistant sealant later.
This hand-cut approach hides fasteners completely and adds structural rigidity that screws alone cannot provide. It requires more time but results in a durable piece suitable for years of outdoor gardening.
Assembling The Frame With Clamps And Glue Only
Begin by laying out the cut slats on a flat surface to ensure they fit together perfectly without any force or gaps. This dry fitting step allows you to verify that your hidden joinery techniques are aligned correctly before applying any adhesive.
Dry Fit And Alignment
Place the bottom frame rails and position the slats vertically between them, checking for squareness using a framing square or combination square. Adjust each board until all corners form perfect 90-degree angles, as misalignment here will cause gaps when you glue the pieces together.
Applying Adhesive
Spread a generous bead of PVA wood glue along the mating surfaces where the slats meet the frame rails and at any internal corner joints. Avoid using excessive amounts that could squeeze out excessively, which can create messes or weaken the joint over time.
Clamping The Structure
Clean up excess glue immediately with a damp rag before it dries, then secure the assembly with bar clamps placed at both ends of each slat. Do not overtighten the clamps, as this can crush the pine wood or distort the joint before the adhesive cures fully.
Checking Squareness Again
Use a framing square to recheck all corners while the clamps are still in place, making minor adjustments if the frame has shifted slightly during glue application. Ensuring everything remains square now prevents structural weakness and ensures the final planter box looks professional.
Curing Time
Allow the assembly to sit undisturbed for at least 24 hours according to the manufacturer instructions on the glue bottle. Do not attempt to remove clamps or move the structure until the bond is fully cured, as premature movement can compromise the joint integrity.
Sealing Pine For Weather Resistance And Finish
Applying a protective finish to your pine planter box is essential because untreated softwood will quickly rot, warp, or crack when exposed to rain and sun. Unlike indoor furniture where aesthetics might be the primary concern, outdoor projects require a barrier that repels moisture while allowing wood to breathe slightly to prevent trapping water inside the grain.
Selecting The Right Sealant
You have two main options for protecting your pine: an exterior-grade penetrating oil or a clear marine-grade sealant. Penetrating oils, such as those containing tung oil or linseed oil mixed with varnish, soak deep into the wood fibers to strengthen them from within and resist water absorption. These products are ideal if you want to maintain the natural look of the pine without creating a thick plastic-like film on top.
If you prefer a harder shell that offers maximum durability against direct sunlight and heavy rain, choose an exterior spar urethane or marine varnish. This type of finish sits on top of the wood rather than soaking in, providing a tough shield against UV rays which cause pine to fade and degrade rapidly outdoors. Always ensure the product is labeled for outdoor use, as indoor varnishes will yellow and peel quickly when exposed to the elements.
Application Steps
- Clean all dust from your freshly sanded wood with a tack cloth or slightly damp rag before applying any finish to ensure proper adhesion.
- Stir the sealant gently without shaking it, as this can introduce air bubbles that ruin the smooth surface of your pine planter box.
- Apply thin coats using a high-quality synthetic bristle brush or clean lint-free cloth, working with the grain of the wood to avoid streaks.
Curing And Maintenance
Allow each coat to dry completely according to the manufacturer's instructions before applying the next layer. For best results, apply at least two coats for oil-based products and three coats for varnishes, sanding lightly with fine grit paper between applications to smooth out raised grain.
Once fully cured, your pine will resist water penetration significantly longer than bare wood. Inspect the finish annually in late spring or early fall; reapply a fresh coat of sealant where signs of wear appear to extend the life of your garden bed.
Final Thoughts
Building a durable slatted pine garden bed requires careful selection of weather-resistant wood, precise cutting for hidden dovetail joints, and thorough sealing before installation.
Key Takeaways
- Pine Selection: Use kiln-dried southern yellow pine or similar softwoods treated for outdoor exposure to prevent rapid rot.
- Hidden Joinery: Cutting interlocking dovetails by hand allows for a clean exterior look without requiring expensive joiner machines.
- Weathertight Sealing: Applying a high-quality penetrating oil or spar urethane protects the wood grain from moisture and UV damage.
This approach to planter box construction offers a sturdy, long-lasting solution for growing vegetables or flowers using basic tools. A well-made slatted pine garden bed provides years of reliable service in an outdoor setting.