Crafting a Magical Wooden Box: A Beginner's Guide
Want to create a whimsical and unique wooden box that doubles as a hidden compartment? Look no further! This guide will walk you through the steps of building your own "magic" box, perfect for storing treasures, secret messages, or even just adding a touch of enchantment to your home.
Gather Your Magical Supplies
Before you embark on your woodworking adventure, gather the necessary materials. You'll need:
- Wood (pine or plywood works well)
- Wood glue
- Screws
- Sandpaper (various grits)
- Wood stain (optional)
- Paint (optional)
- Hinges
- Magnetic catches (for the secret compartment)
- Measuring tape
- Pencil
- Saw (hand saw or jigsaw)
- Drill
- Clamps
- Safety glasses
Step 1: Planning the Magic
Start by designing your box. Sketch out the dimensions on paper, considering the size of the hidden compartment you desire. Determine the thickness of the wood and the overall shape of the box. Remember, you can get creative with the design â€" a traditional rectangular box, a whimsical chest, or even a unique geometric shape are all possibilities.
The Hidden Compartment
Think about where you want to place the hidden compartment. A false bottom is classic, but you can also incorporate a secret side panel or even a hidden drawer. This is your chance to let your imagination run wild.
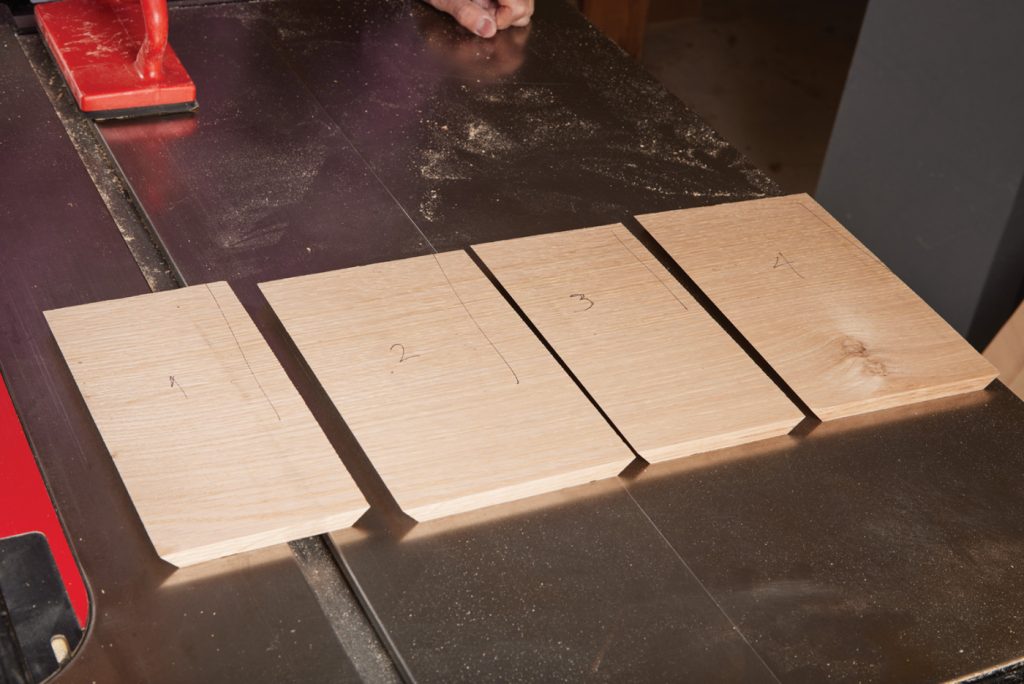
Step 2: Cutting and Shaping
Now, using your saw and measuring tape, carefully cut the wood pieces according to your design. Remember to account for the thickness of the wood when calculating the sizes for the sides, top, and bottom.
For the false bottom (or whichever part you're using for the secret compartment), cut two pieces â€" one for the visible bottom and one for the false bottom. The false bottom should be slightly smaller to create a space for storage.
Step 3: Assembling the Box
With your pieces cut, you can start building the box. Apply wood glue to the edges and carefully join the sides to the bottom, ensuring the corners are square and flush. Use clamps to secure the pieces while the glue dries.
Once the glue is dry, attach the top to the box using wood glue and screws. Be sure to pre-drill holes for the screws to prevent the wood from splitting.
Step 4: Creating the Secret
Now it's time to build the hidden compartment. Attach the false bottom to the bottom of the box using wood glue and screws, ensuring it is flush with the sides.
Step 5: Finishing Touches
Sand the entire box with progressively finer grits of sandpaper to achieve a smooth finish. If desired, apply wood stain or paint to give your box a unique look.
For the lid, attach hinges with screws. Next, install the magnetic catches on the lid and the box's hidden compartment, allowing it to close securely.
Step 6: Revel in Your Magical Creation
Congratulations! You have now created your very own magical wooden box, ready to hold your treasures or secrets. Enjoy the satisfaction of crafting this unique piece and the fun of revealing its hidden compartment to others.
0 comments:
Post a Comment
Note: Only a member of this blog may post a comment.