Create a Birdhouse with a Hinged Front for Easy Access
Give your feathered friends a comfortable and accessible home with a birdhouse featuring a hinged front! This design allows you to easily check on the nestlings, clean the house, and replenish food or water without disturbing the birds. Let's dive into the steps to build this functional and aesthetically pleasing birdhouse.
Materials You'll Need
Before you begin, gather these materials:
- Wood board (1/2 inch thick) - Choose a type of wood resistant to moisture, like cedar, redwood, or pressure-treated pine.
- Wood glue
- Wood screws (1-1/4 inch)
- Small hinges (1 inch)
- Small eye hook
- Small padlock and key
- Paint or stain (optional)
- Measuring tape
- Saw
- Drill
- Screwdriver
- Sandpaper
Building the Birdhouse
Step 1: Cut the Wood
Using your saw and measuring tape, cut the wood into the following pieces:
- Base: 6 inches wide x 6 inches deep
- Sides: 6 inches high x 6 inches wide (two pieces)
- Back: 6 inches high x 6 inches wide
- Front: 6 inches high x 6 inches wide
- Roof: 8 inches wide x 8 inches deep (two pieces)
Step 2: Assemble the Walls
Apply wood glue to the edges of the base and sides. Align the sides with the base and clamp them together. Repeat this process for the back panel, securing it to the base and sides. Allow the glue to dry completely.
Step 3: Attach the Hinges
Place the hinges on the front panel, approximately 1 inch from the top and bottom. Attach the hinges to the front using wood screws.
Step 4: Attach the Front to the Birdhouse
Align the front panel with the birdhouse, ensuring the hinges are in the correct position. Secure the hinges to the birdhouse with wood screws. This creates the hinged door.
Step 5: Create the Roof
Apply wood glue to the edges of the two roof pieces. Join them together at a slight angle to form a sloping roof. Clamp them together and allow the glue to dry. You can use a small piece of wood for a spacer to create the desired angle.
Step 6: Attach the Roof
Align the roof with the top of the birdhouse, ensuring that the angle creates an overhang. Secure the roof to the walls using wood screws.
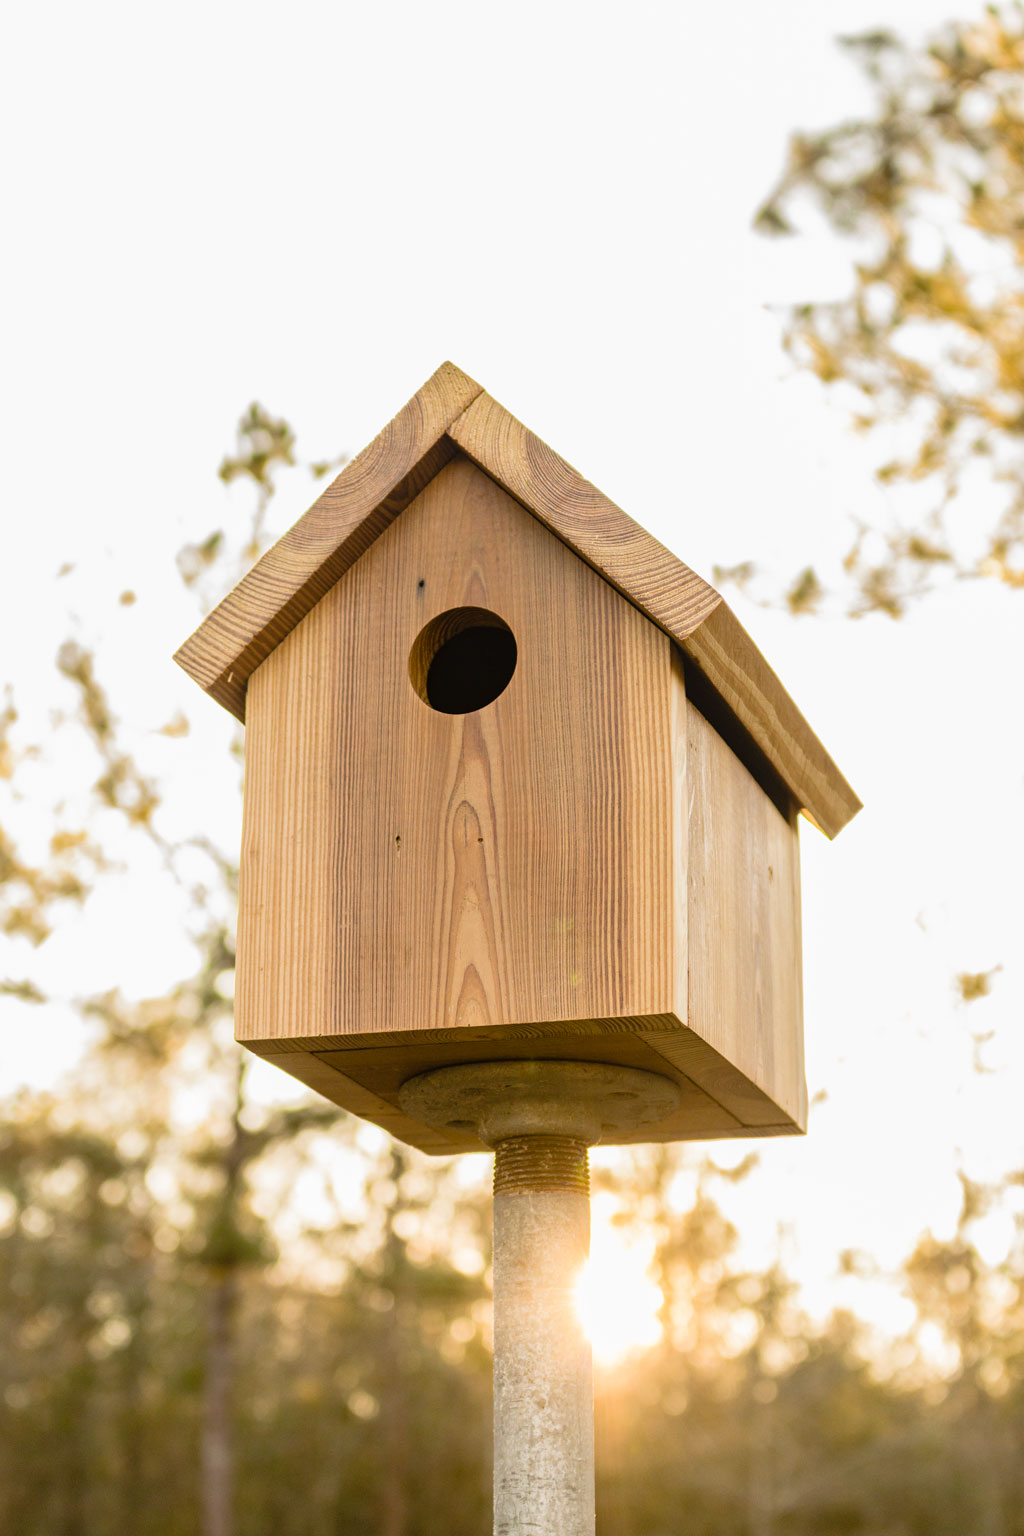
Step 7: Add an Entrance Hole
Measure and mark a circular opening in the front panel. Use a drill bit or jigsaw to create the opening. The size should accommodate the type of birds you want to attract.
Step 8: Add the Lock and Eye Hook
Drill a small hole in the front panel, near the top. Install the eye hook to allow for a padlock. Attach the padlock to the eye hook and test that the lock works smoothly.
Step 9: Finish the Birdhouse
Sand down any rough edges and clean the birdhouse thoroughly. If desired, apply paint or stain to protect the wood and add a personal touch.
Placing Your Birdhouse
Choose a location for your birdhouse that provides shelter from direct sunlight, rain, and harsh winds. Mount it 5 to 10 feet off the ground for safety. You can use a sturdy branch, a post, or a wall mount.
Enjoy watching your feathered friends build their nest and raise their young in your charming birdhouse!
0 comments:
Post a Comment
Note: Only a member of this blog may post a comment.