Building a Squirrel Box: A Beginner Woodworker's Guide
Hey there, fellow woodworkers! Ever wanted to help out your local squirrel population while also getting some hands-on experience with woodworking? Well, you're in luck because today we're diving into the world of squirrel box construction. This guide is perfect for beginners who are just starting out with woodworking. It's designed to be simple and straightforward, with easy-to-follow instructions and plenty of helpful tips along the way.
Building a squirrel box is a fun and rewarding project. Not only will you be providing a safe and cozy home for these adorable critters, but you'll also be learning valuable woodworking skills. So grab your tools, gather your materials, and let's get started!
Choosing the Right Wood
The type of wood you use for your squirrel box is important. It needs to be durable enough to withstand the elements and the occasional squirrel antics. Here are some popular options:
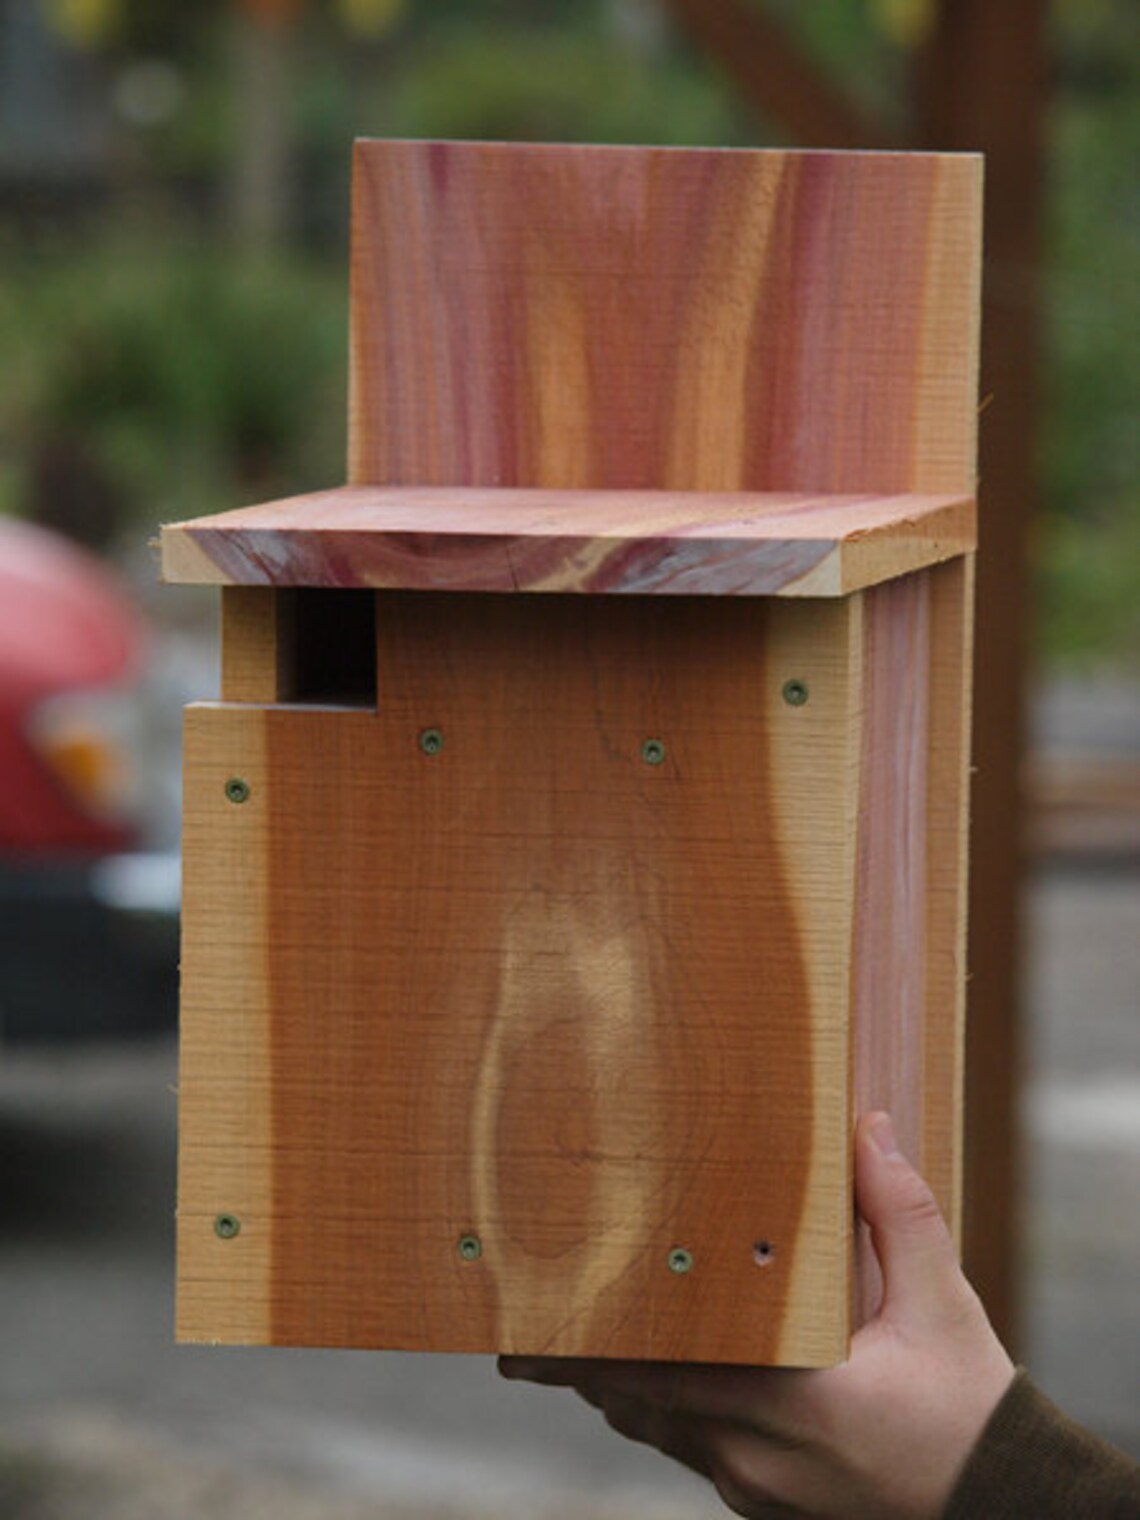
- Cedar: Known for its natural resistance to rot and insects, making it ideal for outdoor projects.
- Redwood: Similar to cedar, redwood offers excellent durability and a beautiful reddish-brown color.
- Pressure-treated lumber: Provides a long lifespan, but it's important to note that pressure-treated wood can contain chemicals that may be harmful to animals.
- Pine: While not as durable as cedar or redwood, pine is readily available and affordable.
When choosing your wood, be sure to inspect it for any cracks, knots, or other defects. You want to ensure your squirrel box is sturdy and safe for its future residents.
Gathering Your Tools and Materials
Here's a list of the tools and materials you'll need for this project:
- Wood: 1x6 or 1x8 boards (approximately 12 linear feet total)
- Circular saw or handsaw: For cutting the wood to size
- Measuring tape: For accurate measurements
- Pencil: For marking your cuts
- Drill: For creating pilot holes
- Screwdriver or drill bit: For attaching the wood pieces
- Wood screws: 1 1/2 inch long (at least 20)
- Hammer: For securing nails (optional)
- Safety glasses: Protect your eyes while working with power tools
- Work gloves: For safe handling of wood and tools
- Sandpaper: For smoothing out rough edges (optional)
- Wood sealant or paint (optional): For added protection and aesthetics
Building the Squirrel Box
Now that you have your tools and materials ready, it's time to build your squirrel box. Follow these steps:
Step 1: Cut the Wood
Start by cutting your wood to size. You'll need the following pieces:
- Base: 1 piece 12 inches long x 6 inches wide
- Sides (2): 1 piece 12 inches long x 6 inches wide
- Back: 1 piece 12 inches long x 6 inches wide
- Front: 1 piece 12 inches long x 6 inches wide
- Roof (2): 2 pieces 12 inches long x 6 inches wide
Remember to make your cuts with precision. Use a measuring tape and a pencil to mark your lines before cutting. You can use a circular saw or a handsaw to make the cuts. If using a handsaw, be sure to have a sawhorse to support the wood for a stable cut.
Step 2: Assemble the Base and Sides
Now, assemble the base and sides of your squirrel box. Lay the base down flat and then attach the two sides to the base using wood screws. Screw the sides into the base from the inside, making sure they're flush with the edge of the base. You can use a drill to pre-drill pilot holes to prevent splitting the wood.
Step 3: Attach the Back and Front
Next, attach the back and front pieces. Position the back panel against the sides and screw it into place using wood screws. Then, attach the front panel in the same manner. Remember to pre-drill pilot holes for these screws as well.
Step 4: Create the Roof
For the roof, you'll be creating two identical pieces that will overlap and form a slight slant. Position the two roof pieces at a slight angle, creating a small overhang at the back to provide additional shelter from the elements. Use wood screws to attach the roof pieces to the back panel and then to the sides. Remember to pre-drill pilot holes.
Step 5: Create the Entry Hole
Now it's time to create the entry hole. Choose a spot on the front panel where you want the entry hole. Using a drill bit that's slightly smaller than the diameter you desire, carefully drill a hole in the center of the desired entry hole location. Then, use a jigsaw or a coping saw to cut out the entry hole, taking your time for a clean cut. You can also create a "landing platform" by cutting a small rectangular piece of wood and attaching it just below the entry hole to help squirrels gain access.
Step 6: Finishing Touches
To complete your squirrel box, you can add some finishing touches. Sand any rough edges to create a smooth surface. You can also apply a wood sealant or paint to protect the wood and enhance its appearance. If you're using paint, be sure to choose a non-toxic option that's safe for animals. When applying any kind of finish, be sure to let it dry completely before placing the box in its final location.
Tips for Choosing the Perfect Location
Finding the right location for your squirrel box is essential. It should be placed in an area that offers a good balance of safety, visibility, and food sources.
- Height: Mount the box at least 6 feet above the ground. This will help deter predators and ensure a safe haven for the squirrels.
- Protection: Locate the box in a sheltered spot, like beneath a tree or overhang. This will provide protection from rain and harsh sunlight.
- Food sources: Choose a location near a food source, such as trees with nuts or berries. It's also helpful to place a feeder nearby for additional food.
- Visibility: Ensure the box is easily visible from a distance. This will make it easier for you to monitor the box and ensure it's being utilized. Also, make sure the area is safe for people and animals to access.
- Secure mounting: Use heavy-duty screws or brackets to securely attach the box to a tree or post.
Maintenance and Care
Once your squirrel box is in place, it's important to check on it regularly and maintain it to keep it in good condition. Here are some tips:
- Inspect regularly: Check the box every few months for signs of wear and tear, such as cracks, holes, or damaged wood. Repair or replace any damaged parts as needed.
- Clean the box: Remove any debris or nesting materials. Squirrels can be pretty messy, and cleaning the box will help to keep it sanitary and comfortable for its residents.
- Replenish bedding: Place fresh bedding inside the box, like shredded paper or dry leaves. This will provide a soft and comfortable place for the squirrels to rest.
- Check for pests: Be on the lookout for signs of pests, such as insects or rodents. If you find any, remove them and consider treating the box with an appropriate pest control solution.
Enjoy Your Squirrel Box
Congratulations! You've successfully built your very own squirrel box. Now you can enjoy watching these adorable creatures come and go, and know that you've provided them with a safe and cozy home. Remember to keep an eye on the box and make sure it's being used. You may even be lucky enough to spot baby squirrels in the box, which is always a heartwarming sight!
Building a squirrel box is a great way to connect with nature, learn valuable woodworking skills, and make a positive impact on your local wildlife. It's a fun and rewarding project that anyone can do, regardless of their experience level. So, go ahead, give it a try and see for yourself!
0 comments:
Post a Comment
Note: Only a member of this blog may post a comment.